With a bass guitar, you need a bass speaker. Guitar speakers are designed for treble sounds, so playing the bass through my guitar amp would blow the speaker. Having built 2 guitars now, I thought I’d have a shot at building my own cabinet, and putting a speaker in it. 18mm ply, some box joints and glue…..simple.
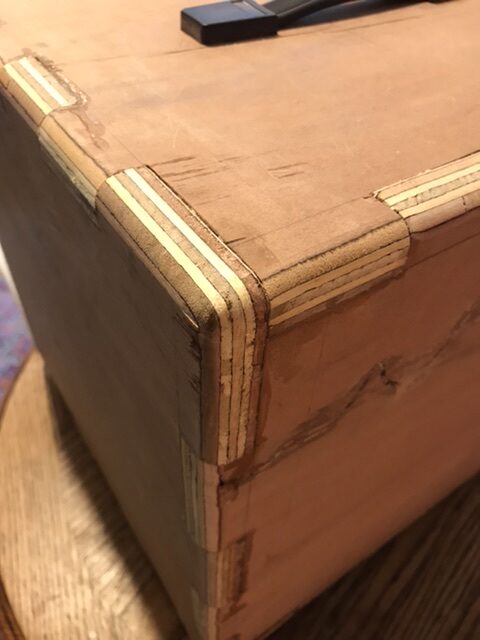
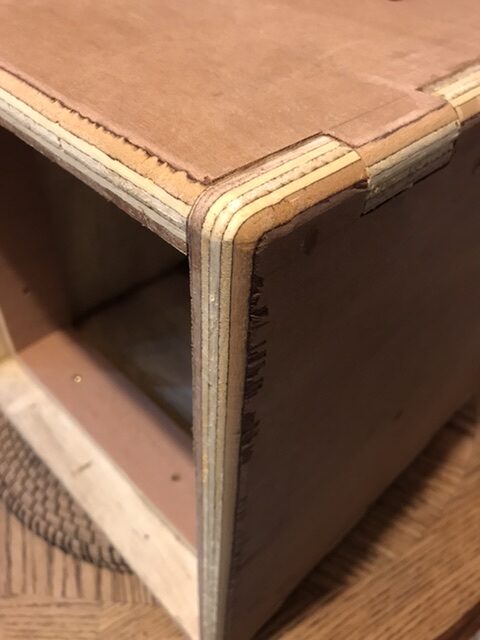
Mark ii Cabinet, better joints, and rounded edgesFront of box, inset frame to mount the front speaker baffle.
After trying to cut the joints, and them not working very well, I tried again. When the box was done its was nearly 500mm cubed! The problem with making things is that you have to put them somewhere, and that was way to big. I wasn’t happy with the joints so I cut the box down to a more manageable size of 360mm and re cut the joints. I bought a jigsaw and cut them with that, and they came out as above.
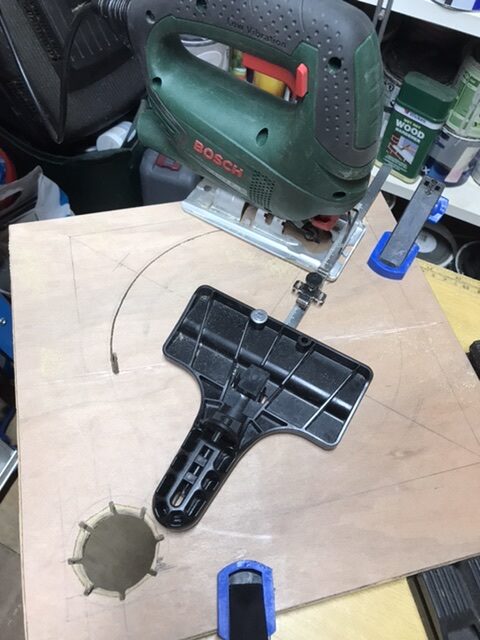
With the joints cut and the box going together very nicely I cut out the front baffle which I wanted to recess back so the speaker had some protection. As I now have a jigsaw I could use the guide to cut a perfect circle for the speaker mount.
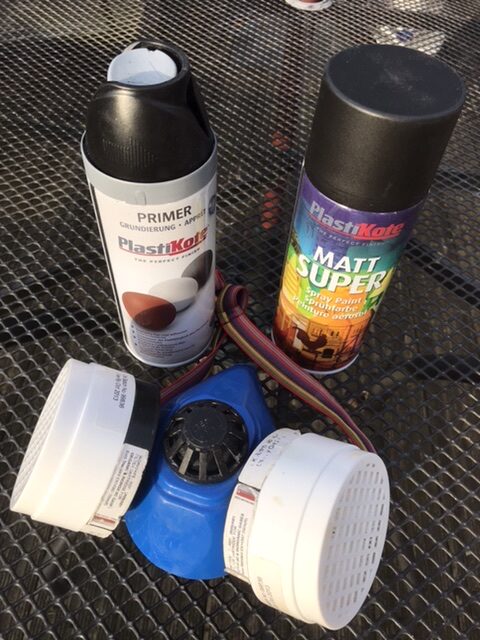
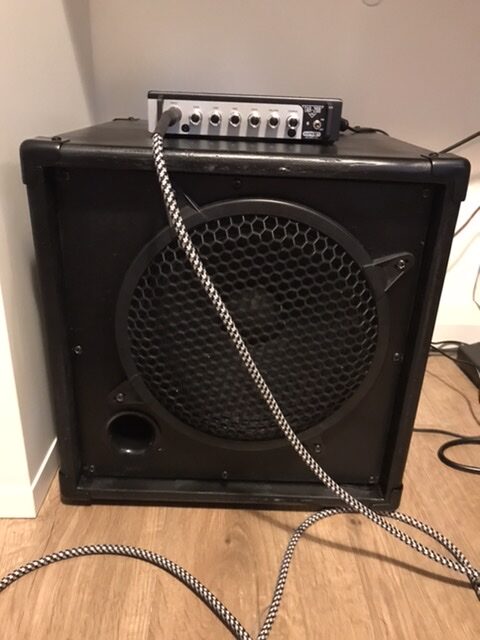
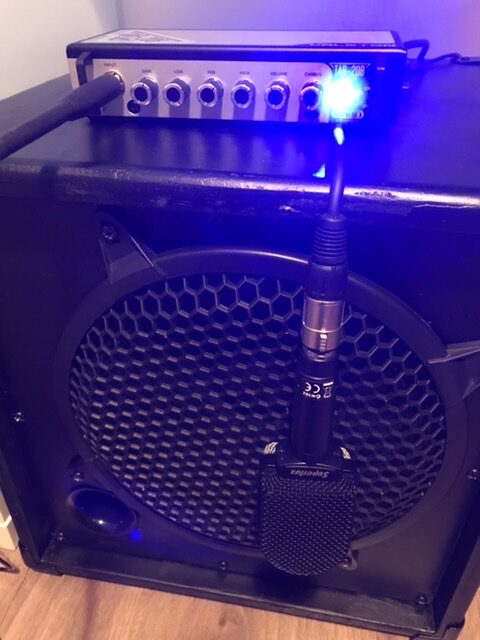
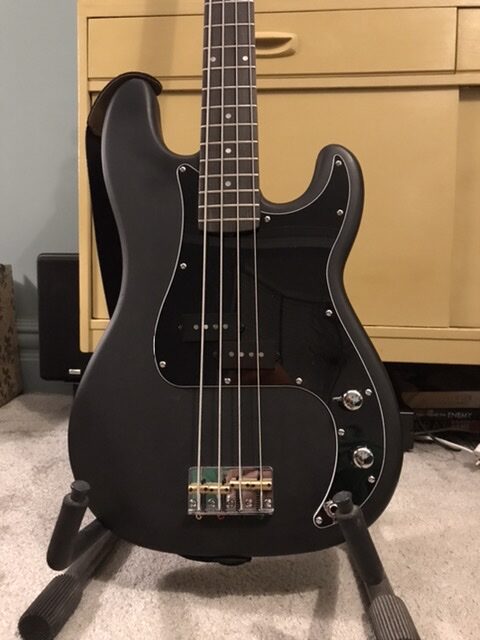
Plasitkote make nice paint and varnish. I used them on the Tele and P Bass too.All painted, varnishec and hardware attached. Handle, metal corners and rubber feetRecording with a Valeton Asphalt Tar 20B 20 watt solid state amplifier and Superlux pra 628 mkii microphone
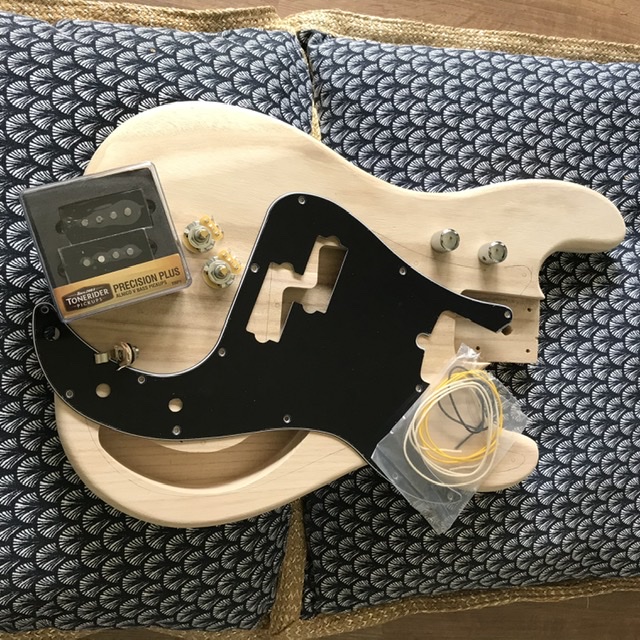
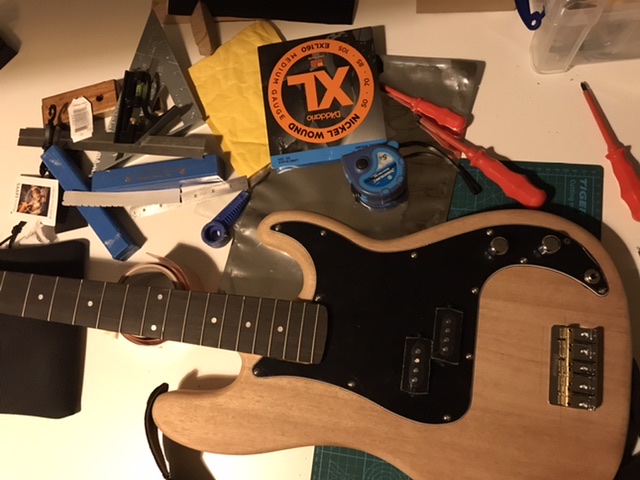
After my Telecaster build, my arm was twisted to build as bass guitar. I’ve always thought P bass’s were cool, and sound great. It wasn’t long before I started to gather the bits I needed.
P Bass body, scratch plate, CTS pots and Tone Rider Precision Plus pickups
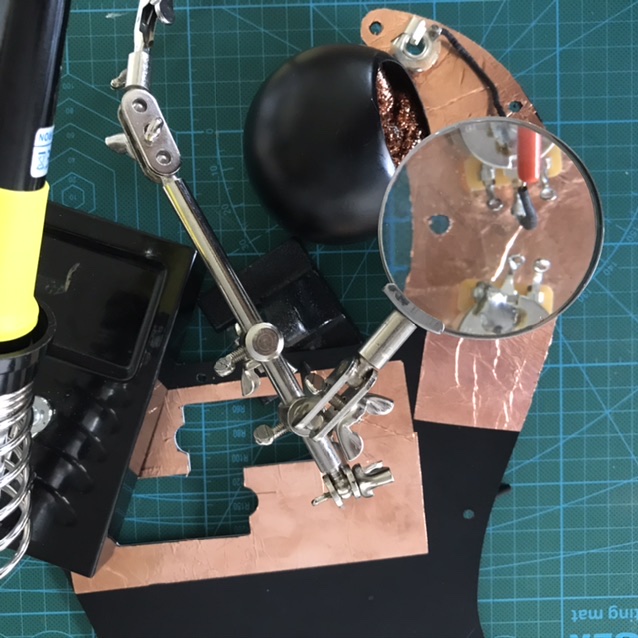
It wasn’t long before I was soldering the electronics and putting them into the scratch plate along with the copper shielding.
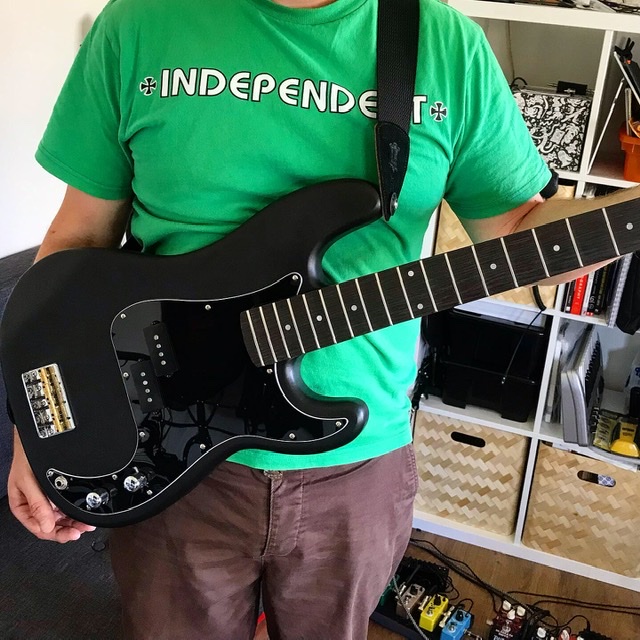
The rest of the build came together quite quickly, because of my learnings from the Tele build. Both guitars have very similar parts and are built in the same way.
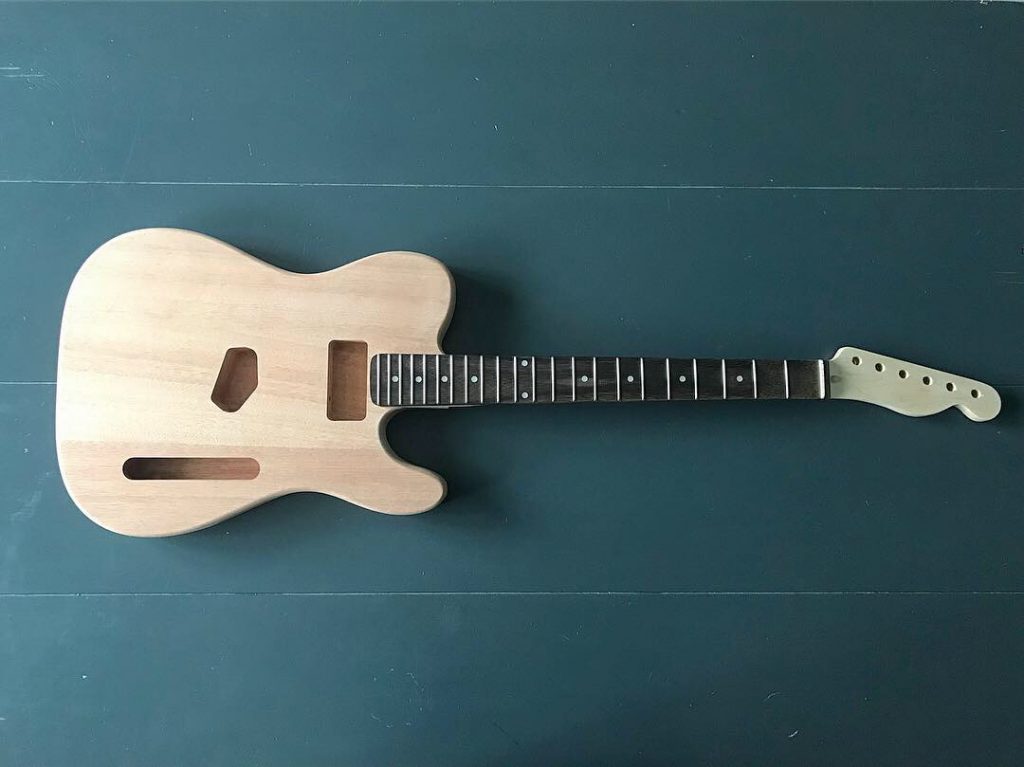
I’ve been watching loads of Youtube guitar builds and wood working. Feeling inspired I decided to build my own telecaster. I decided to go down the partscaster route this time, but I do want to make my own neck and body in the future. So far I have a neck and body, still need a lot of parts to finish it. What colour should it be?
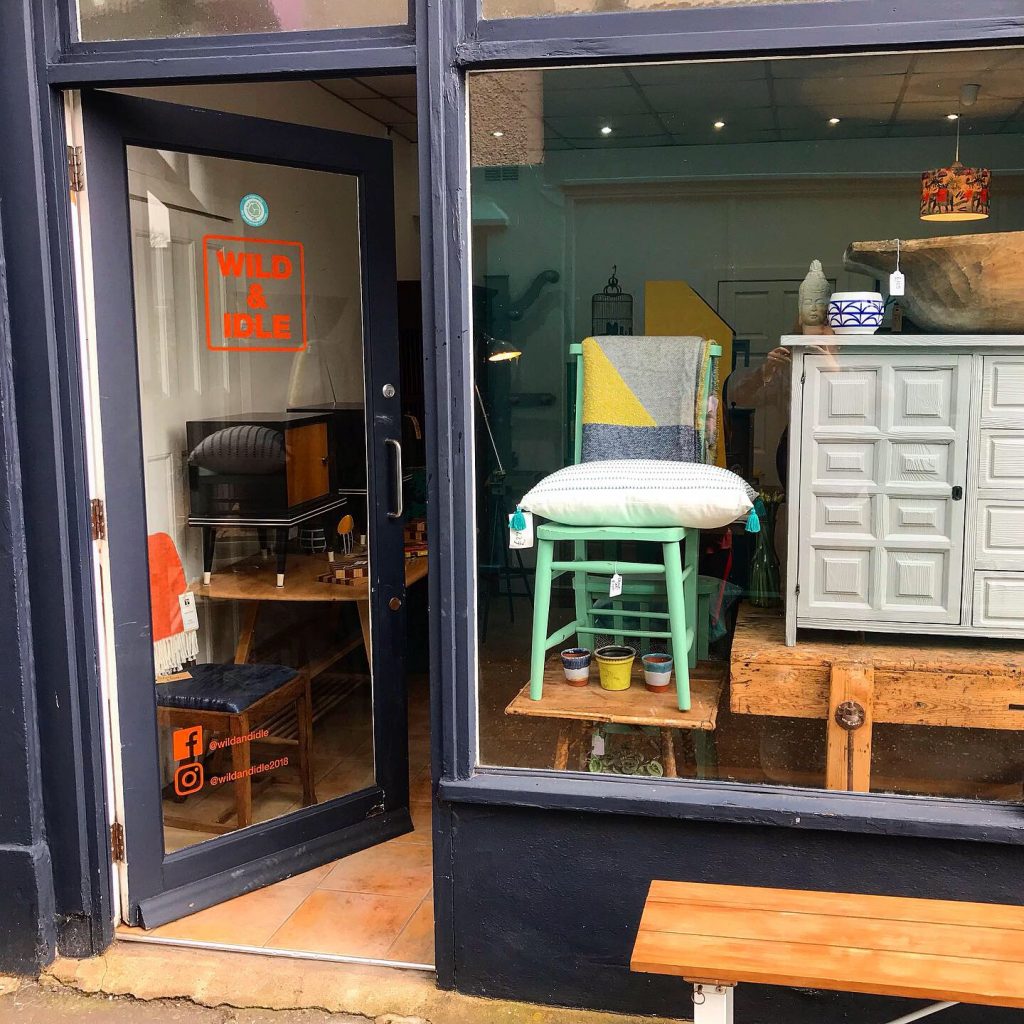
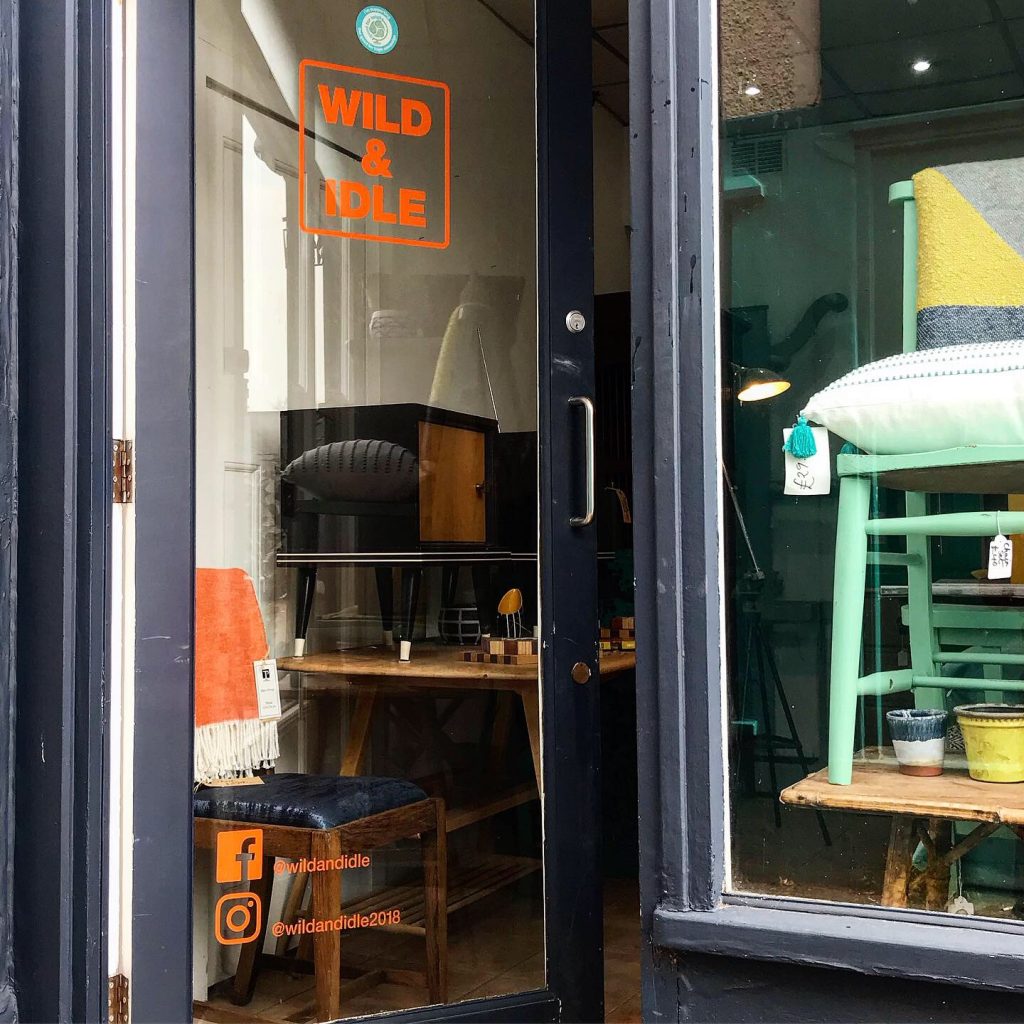
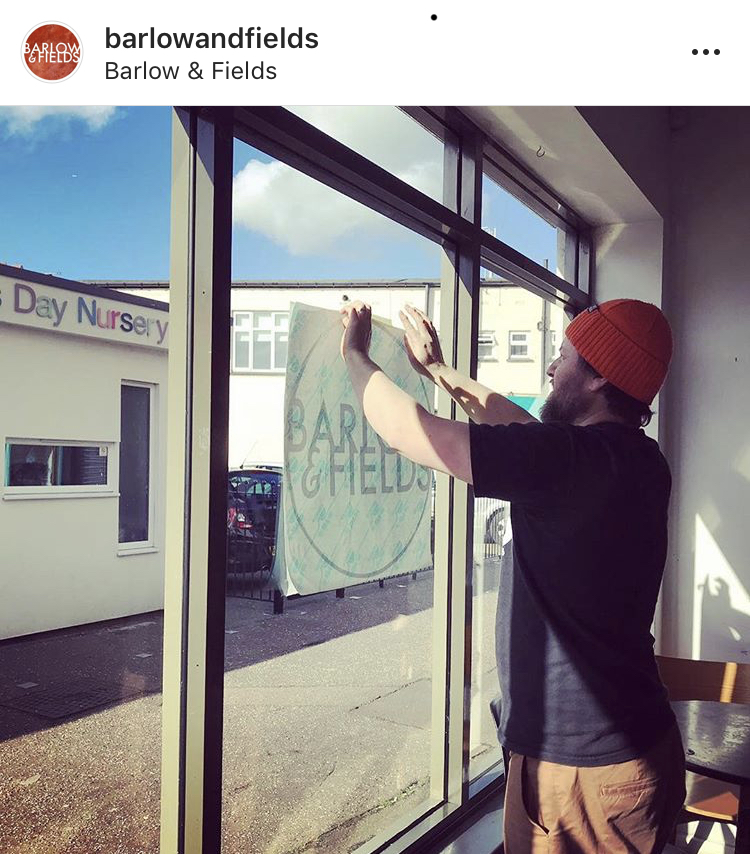
I created a wordmark and some social media tags for Wild and Idle, a vintage and upcycled furniture shop. I cut and installed them as vinyl graphics on their front door, all in a rather nice orange!
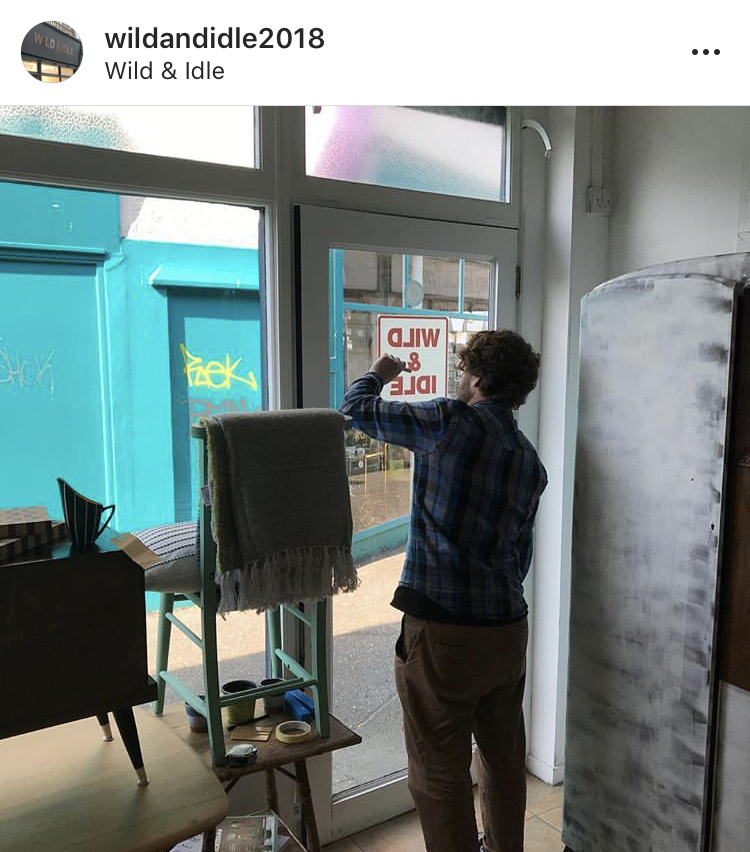
Me installing vinyl. Pic from Wild and Idle’s Instagram feed.
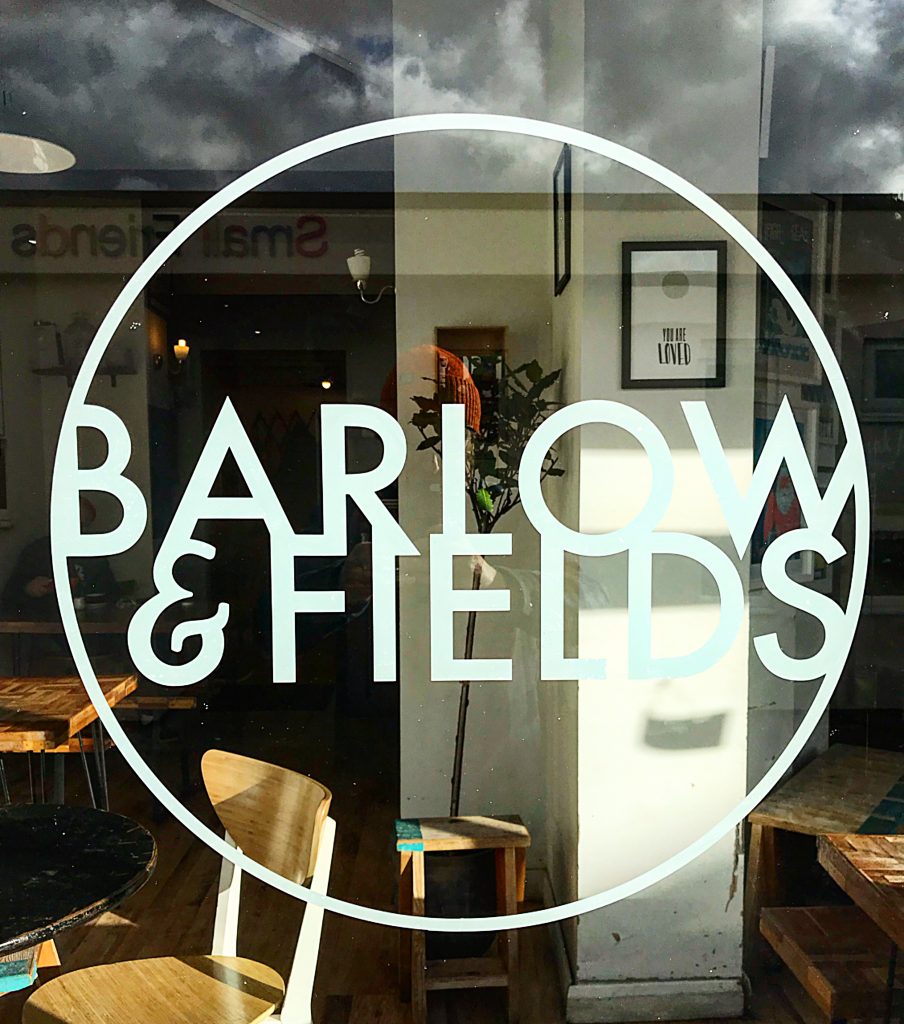
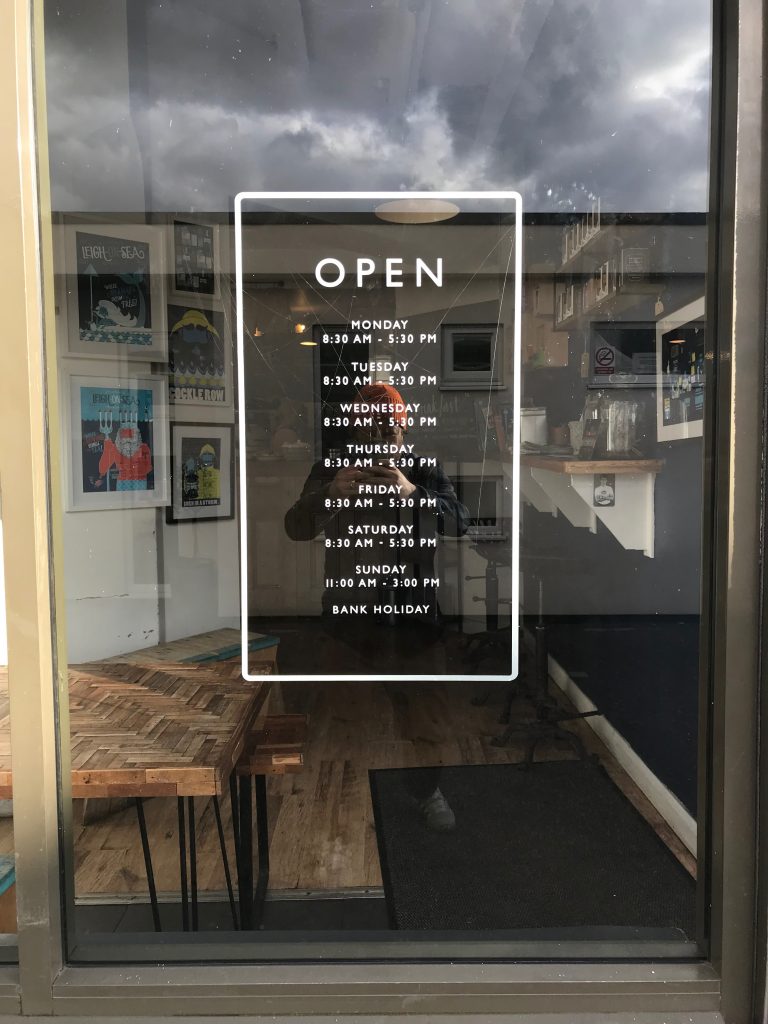
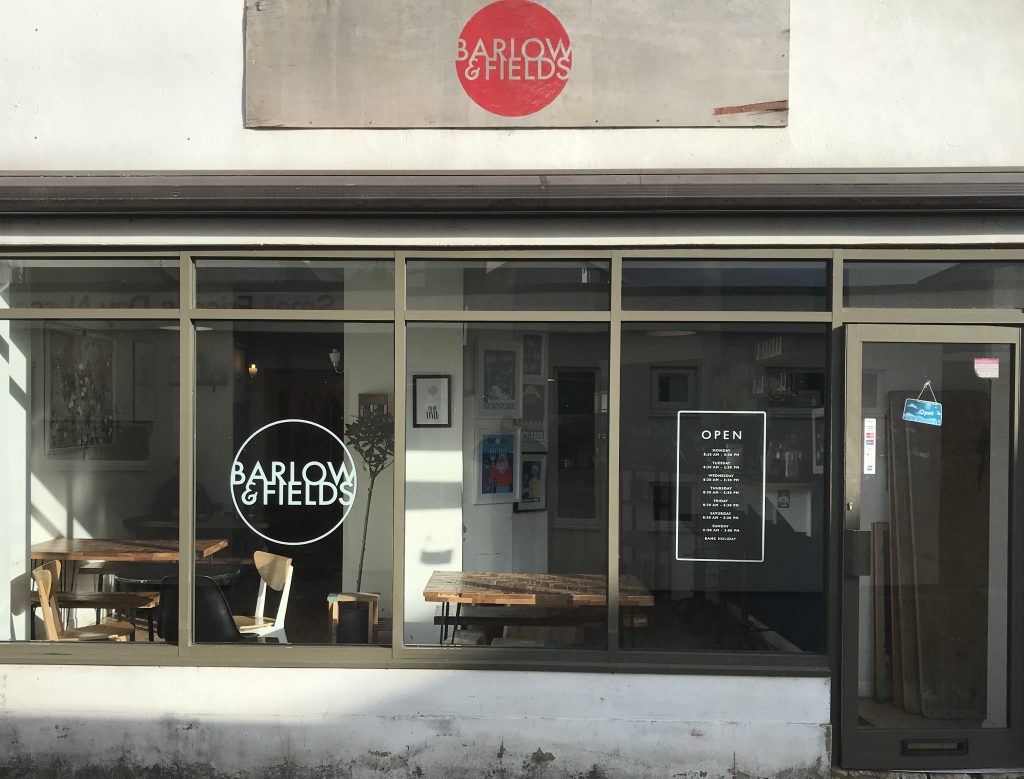
I cut and installed vinyl graphics at my favourite coffee shop Barlow and Fields, after artworking and re-drawing their logo as a vector and type setting some opening times.
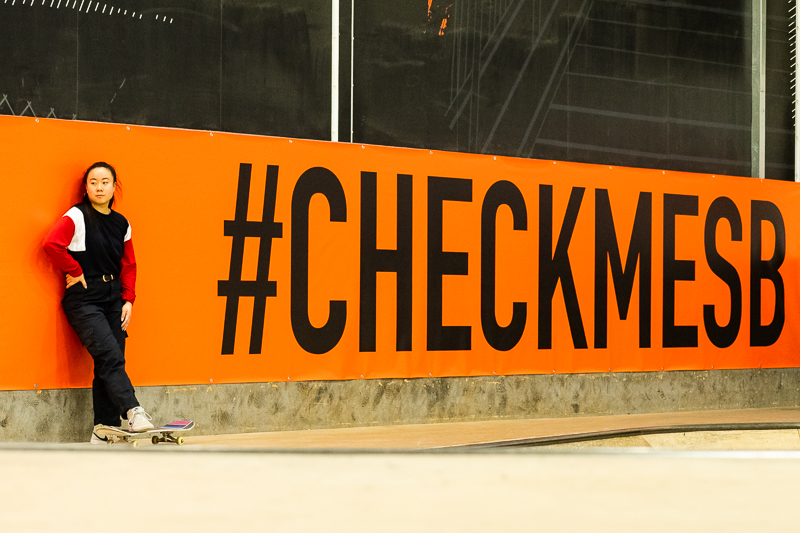
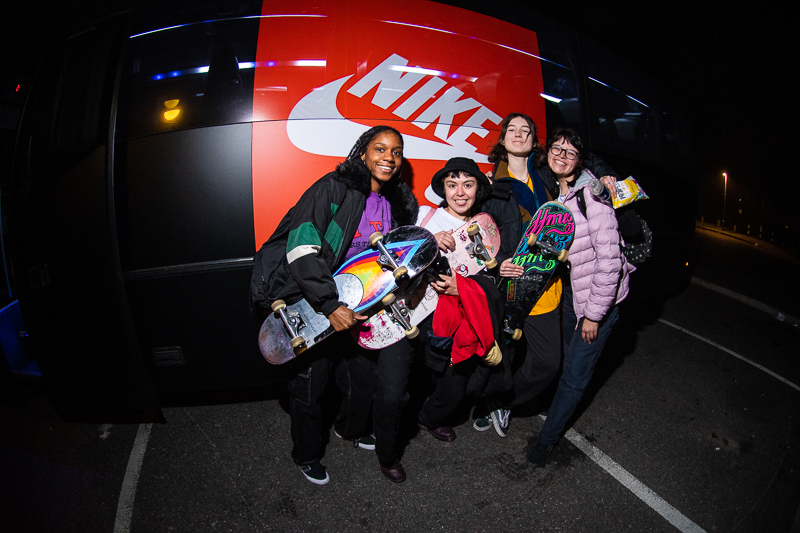
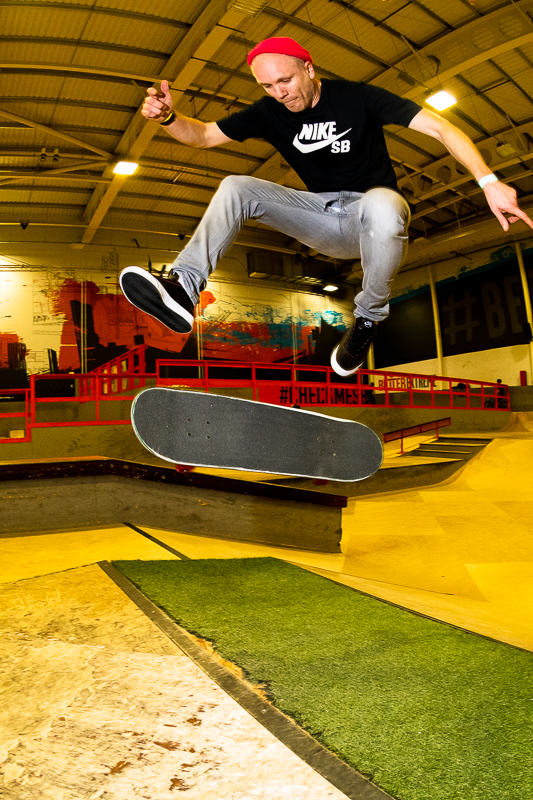
Half term week. Better Extreme skatepark, in Barking, hosted some skateboard events for Nike SB. They put on a free bus to get people to and from the sessions. Nike also had some great skate coaches on hand to teach and give tips and tricks. I had the pleasure of photographing for them. #checkmesb
Pulled out the vinyl cutter and set it up in the studio. Vinyl cutting software still seems to be very much Windows only, so I’m trying out some new software that works on Mac OS. EasyCut Studio works with loads of cutters, especially my Creation Pcut CT 630. As Apple Mac is my main day to day computer it’s really important to have compatible software and EasyCut Studio has a seperate download for Windows and Mac. The install is a breeze, and it was up and running in minutes. There’s a cutter manager, to add your plotter. You can add multiple machines, if you own more than one, and they can be different brands and models too, just select your make and model from the drop down menu and press add, perfect!
I was just after a cutting app, but this is so much more. EasyCut Studio doesn’t just let me import Adobe Illustrator files and cut them, I can create artwork directly in the application without the need a seperate design package, plus (as a bonus) I dont even have to outline the text before cutting! Not only does EasyCut have text and shape tools there is a fantastic library of shapes, signs and icons to quickly aid in your designs. For Illustrator fans EasyCut has a full pen tool with paths and bezier curves to create and edit your own custom shapes. EasyCut also features layers, making it easy to keep elements seperate, so you can really focus on specific elements in your design, and cut them individually with registration marks. This really helps with installation and application of the cut vinyl.
EasyCut Studio even has an Image Trace function, load a jpg, png, bmp or gif and you can turn those pixels into vectors. I can bring my own photos in and vectorise them adding to my designs. Image tracing is a must have tool, if you want to quickly get elements into you design without have to draw them yourself. I cant believe its included in here.
I dont need another piece of software to design first and as always, it’s the case when I create artwork, it’ll end up being needed else where, eg jpg for web or powerpoint presentation. With EasyCut I can export the artwork to use in other projects, not just vinyl cutting. All in all much, much more than I expected. A great piece of software, thats a ‘go to’ tool in my kit.
My new server is running great. I’m really pleased with its performance, and how well the move went. Debian is great! I’ve got everything installed how I want it and nothing else installed, no bloatware. New year new server.
Moved over to a new machine today. Installed and configured a new Debian Linux installation, copied all my data and migrated everything over. The command line is now my friend. Learning Linux!
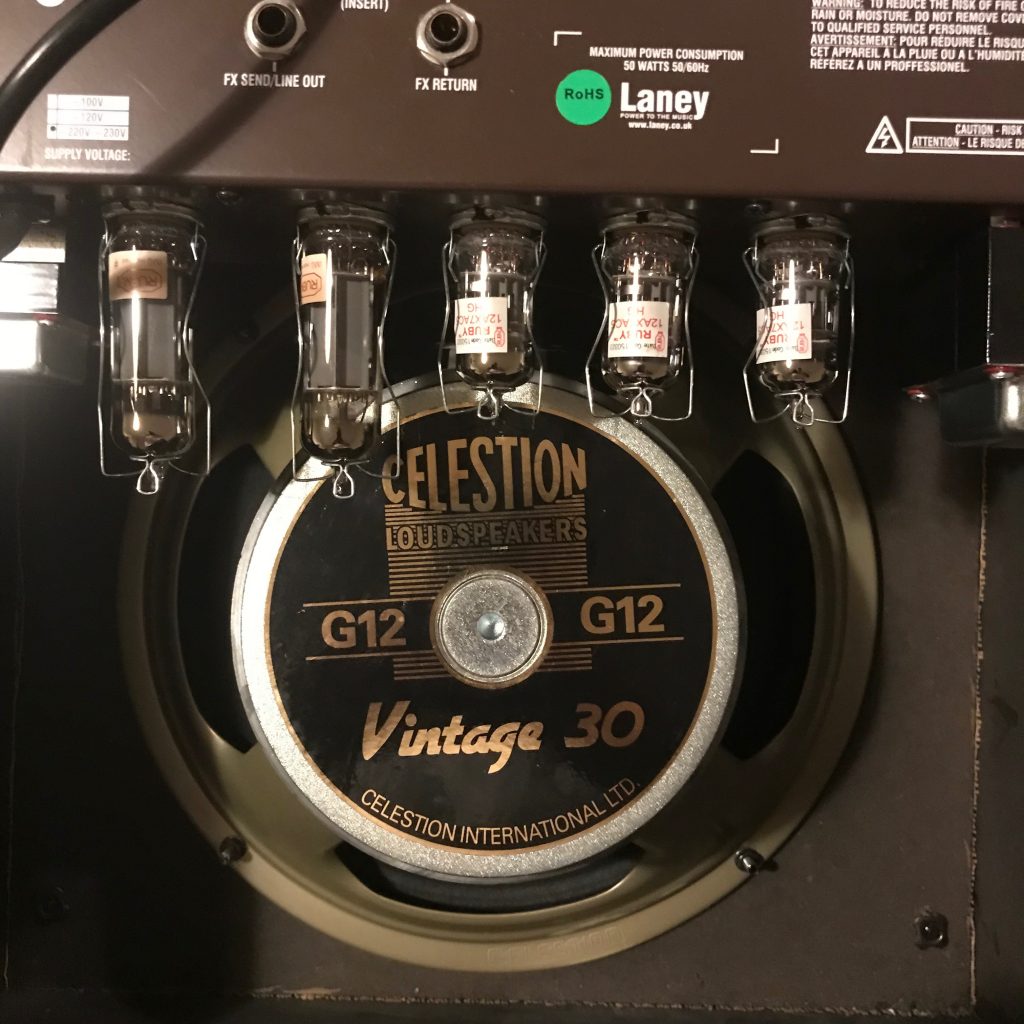
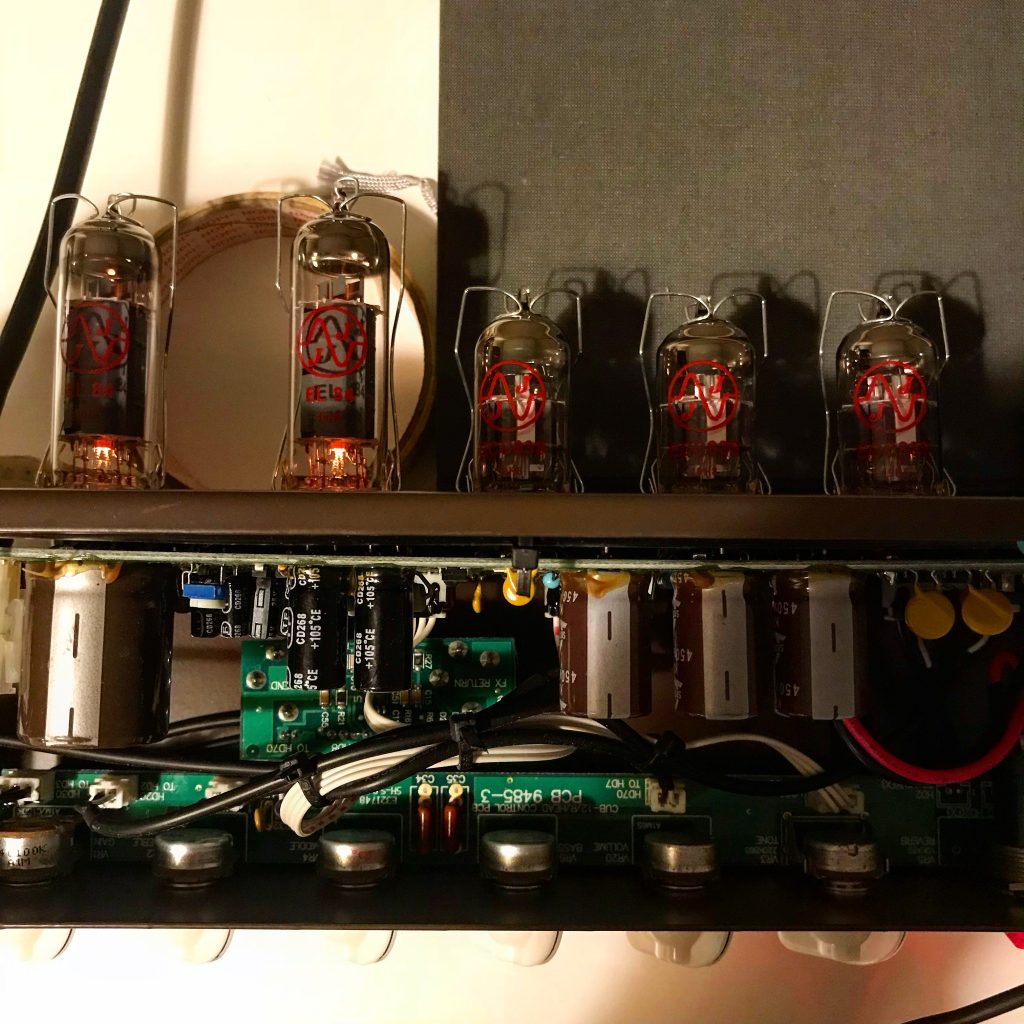
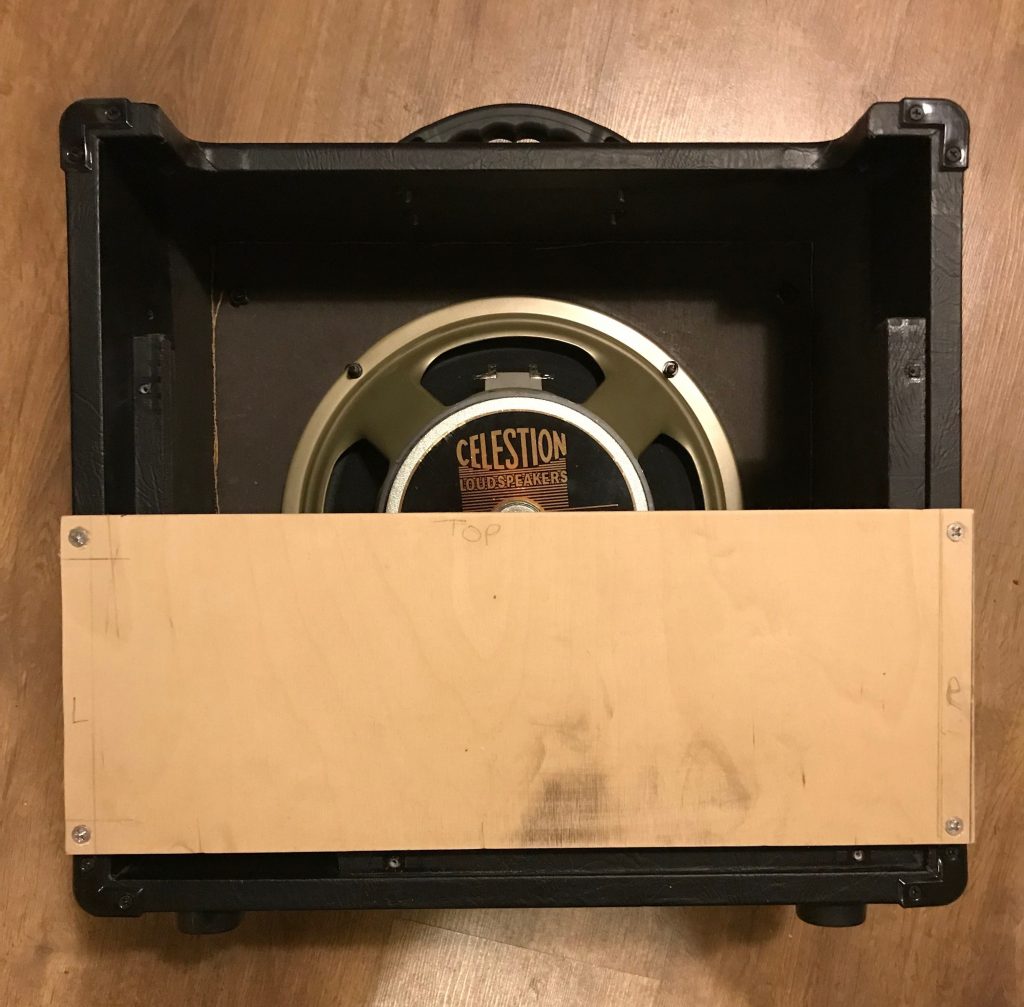
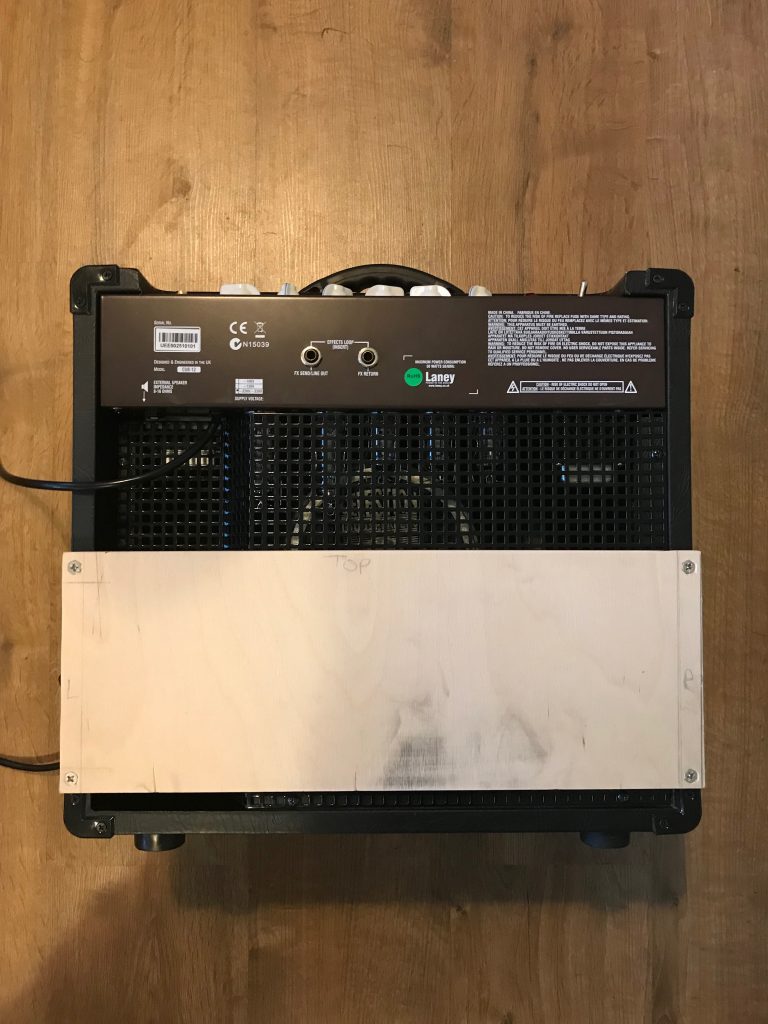
I really love my Laney guitar amp, it sounds great. There’s nothing quite like a valve amp. Being a combo the back is open to allow air to get to the valves. I decided to build a baffle to part enclose the back of the amp to push air more out of the front and see if that had a positive effect on the tone. I’d recently upgraded the speak to a Celestion vintage 30 and replaced the stock valves with a set of JJ’s. It was a really simple process with a piece of 18mm ply and I finished it off with some self adhesive vinyl. Wow it made a difference and I’m really glad I did it.